Machine Learning
What is ML Kit
Firebase 提供ML Kit,其整合了Google Cloud Vision API, Mobile Vision 和TensorFlow 的服務,標榜不明瞭機器學習的人,也可以很輕鬆地利用它來實現所需的功能,像是臉部辨識、文字辨識、圖像辨識。而對於*有經驗*的人,則可以用TensorFlow 訓練自己的模型。
Choose between on-device and Cloud APIs
On device 的模型不用錢,但是提供的分析類型比較少,可以在安裝App 時就一起下載,或者在第一次使用時才下載。
ML Kit for Firebase Quickstart
Android 的GitHub 範例。
What is TensorFlow
Android 的GitHub 範例。
TensorFlow (TF) to CoreML Converter
可以把TensorFlow 的模型,轉換成iOS 原生CoreML 的格式。
ML Kit with model on device
依照官方的教學弄出來的app,可以拍照後分析該照片包含哪些類別的東西,並且標上機率。升級成付費方案後,可以使用Cloud Vision API的識別文字功能,每月有一千筆的免費額度。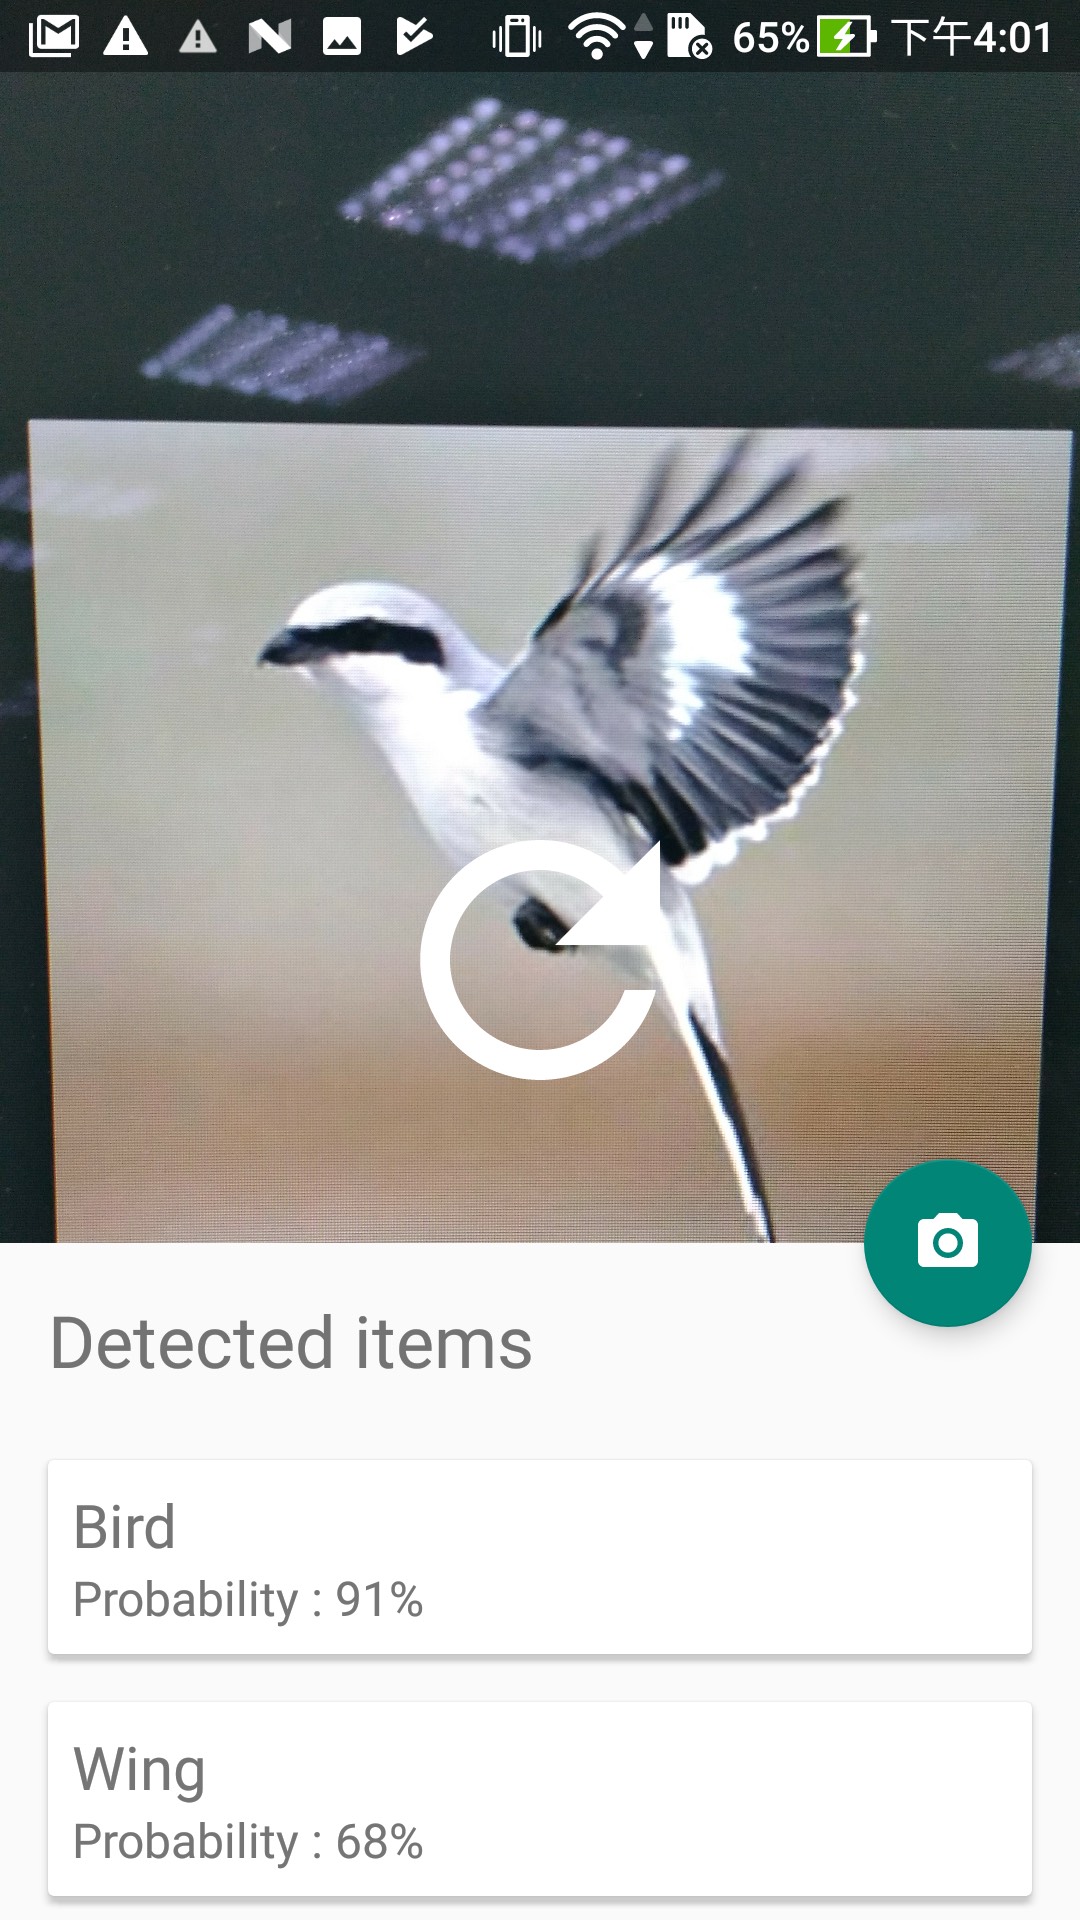
ML Kit with custom model
Tensor Flow Lite 有兩種pre-trained model, MobileNet和 Inception V3。把副檔名為```tflite``` 的模型放在app 裡面,沒有網路時就優先使用這個。然後再上傳同一個模型到Firebase 管理中心。
依照官方的教學弄出來的app,可以用客製化的模型來分析照片的內容。
[Identify objects in images using custom machine learning model](https://codelabs.developers.google.com/codelabs/mlkit-android-custom-model/\#0\)
用TensorFlow 訓練模型
Install Virtualenv
macOS 10.12.6 (Sierra) or higher
install & upgrade pip and Virtualenv
$ sudo easy_install pip
Processing dependencies for pip
Finished processing dependencies for pip

$ pip install --upgrade virtualenv
Successfully installed virtualenv-16.0.0
You are using pip version 10.0.1, however version 18.0 is available.
You should consider upgrading via the 'pip install --upgrade pip' command.

$ sudo pip install --upgrade pip
Successfully installed pip-18.0
- create a Virtualenv environment
$ virtualenv --system-site-packages ~/tensorflow
New python executable in /Users/yen/tensorflow/bin/python2.7
Also creating executable in /Users/yen/tensorflow/bin/python
Installing setuptools, pip, wheel...done.
- activate the Virtualenv environment
$ cd tensorflow/
$ source ./bin/activate
(tensorflow) $
- ensure pip ≥8.1 is installed
(targetDirectory)$ easy_install -U pip
Processing dependencies for pip
Finished processing dependencies for pip
Install TensorFlow
(targetDirectory)$ pip install --upgrade tensorflow
Successfully installed absl-py-0.4.1 astor-0.7.1 backports.weakref-1.0.post1 enum34-1.1.6 funcsigs-1.0.2 futures-3.2.0 gast-0.2.0 grpcio-1.14.2 markdown-2.6.11 mock-2.0.0 numpy-1.14.5 pbr-4.2.0 protobuf-3.6.1 setuptools-39.1.0 six-1.11.0 tensorboard-1.10.0 tensorflow-1.10.1 termcolor-1.1.0 werkzeug-0.14.1
Validate installation of TensorFlow
跑Hello World.
$ python
Python 2.7.14 (default, Apr 25 2018, 15:30:04)
[GCC 4.2.1 Compatible Apple LLVM 9.0.0 (clang-900.0.39.2)] on darwin
Type "help", "copyright", "credits" or "license" for more information.

>
>
>
複製貼上以下的程式碼。
# Python
import tensorflow as tf
hello = tf.constant('Hello, TensorFlow!')
sess = tf.Session()
print(sess.run(hello))
印出以下結果就ok。
Hello, TensorFlow!

>
>
>
關掉當前terminal。
$ deactivate
下載範例程式
開新的terminal。
$ git clone https://github.com/googlecodelabs/tensorflow-for-poets-2

$ cd tensorflow-for-poets-2
下載訓練用的圖集
$ curl http://download.tensorflow.org/example_images/flower_photos.tgz \
    | tar xz -C tf_files
  % Total    % Received % Xferd  Average Speed   Time    Time     Time  Current
                                 Dload  Upload   Total   Spent    Left  Speed
100  218M  100  218M    0     0  17.5M      0  0:00:12  0:00:12 --:--:-- 16.7M
$ ls tf_files/flower_photos
LICENSE.txt    daisy        dandelion    roses        sunflowers    tulips
啟動TensorFlow
$ source /Users/yen/tensorflow/bin/activate
啟動TensorBoard
用來監控。
$ pkill -f "tensorboard" # 如果之前有啟動過的話,先關掉
$ tensorboard --logdir tf_files/training_summaries
&
可以看範例程式寫了啥
$ python -m scripts.retrain -h
開始訓練模型
範例中已經包含訓練過的模型,直接使用它來再訓練。
Deep learning from scratch can take days, but transfer learning can be done in short order.
[TensorFlow For Poets](https://codelabs.developers.google.com/codelabs/tensorflow-for-poets/index.html?authuser=0\#0\)
$ python -m scripts.retrain \
  --bottleneck_dir=tf_files/bottlenecks \
  --how_many_training_steps=500 \
  --model_dir=tf_files/models/ \
  --summaries_dir=tf_files/training_summaries/"${ARCHITECTURE}" \
  --output_graph=tf_files/retrained_graph.pb \
  --output_labels=tf_files/retrained_labels.txt \
  --architecture="${ARCHITECTURE}" \
  --image_dir=tf_files/flower_photos

>
>
 Downloading mobilenet_v1_0.50_224_frozen.tgz 100.1%
Traceback (most recent call last):
  File "/usr/local/Cellar/python@2/2.7.14_3/Frameworks/Python.framework/Versions/2.7/lib/python2.7/logging/__init__.py", line 861, in emit
    msg = self.format(record)
  File "/usr/local/Cellar/python@2/2.7.14_3/Frameworks/Python.framework/Versions/2.7/lib/python2.7/logging/__init__.py", line 734, in format
    return fmt.format(record)
  File "/usr/local/Cellar/python@2/2.7.14_3/Frameworks/Python.framework/Versions/2.7/lib/python2.7/logging/__init__.py", line 465, in format
    record.message = record.getMessage()
  File "/usr/local/Cellar/python@2/2.7.14_3/Frameworks/Python.framework/Versions/2.7/lib/python2.7/logging/__init__.py", line 329, in getMessage
    msg = msg % self.args
TypeError: not all arguments converted during string formatting
Logged from file tf_logging.py, line 115
INFO:tensorflow:Looking for images in 'daisy'
INFO:tensorflow:Looking for images in 'dandelion'
INFO:tensorflow:Looking for images in 'roses'
INFO:tensorflow:Looking for images in 'sunflowers'
INFO:tensorflow:Looking for images in 'tulips'
2018-09-05 11:07:59.783468: I tensorflow/core/platform/cpu_feature_guard.cc:141] Your CPU supports instructions that this TensorFlow binary was not compiled to use: AVX2 FMA
...
INFO:tensorflow:2018-09-05 11:09:11.089265: Step 490: Validation accuracy = 85.0% (N=100)
INFO:tensorflow:2018-09-05 11:09:11.374270: Step 499: Train accuracy = 99.0%
INFO:tensorflow:2018-09-05 11:09:11.374422: Step 499: Cross entropy = 0.099059
INFO:tensorflow:2018-09-05 11:09:11.405300: Step 499: Validation accuracy = 91.0% (N=100)
INFO:tensorflow:Final test accuracy = 90.6% (N=362)
INFO:tensorflow:Froze 2 variables.
INFO:tensorflow:Converted 2 variables to const ops.
檢查訓練的結果
$ python -m scripts.label_image \
  --graph=tf_files/retrained_graph.pb  \
  --image=tf_files/flower_photos/daisy/3475870145_685a19116d.jpg
Evaluation time (1-image): 0.220s

daisy (score=0.87450)
dandelion (score=0.09745)
tulips (score=0.01951)
roses (score=0.00833)
sunflowers (score=0.00021)
優化模型
$ python -m tensorflow.python.tools.optimize_for_inference \
  --input=tf_files/retrained_graph.pb \
  --output=tf_files/optimized_graph.pb \
  --input_names="input" \
  --output_names="final_result"
檢查優化過的模型
python -m scripts.label_image \
  --graph=tf_files/retrained_graph.pb\
  --image=tf_files/flower_photos/daisy/3475870145_685a19116d.jpg
python -m scripts.label_image \
    --graph=tf_files/optimized_graph.pb \
    --image=tf_files/flower_photos/daisy/3475870145_685a19116d.jpg
出來的結果要相同。
壓縮模型
檢查壓縮前的大小。
$ du -h tf_files/optimized_graph.pb
5.2M    tf_files/optimized_graph.pb
調整身經網路的權重,降低些微的準確度。
$ python -m scripts.quantize_graph \
  --input=tf_files/optimized_graph.pb \
  --output=tf_files/rounded_graph.pb \
  --output_node_names=final_result \
  --mode=weights_rounded
壓縮。
$ gzip -c tf_files/rounded_graph.pb
>
 tf_files/rounded_graph.pb.gz

$ gzip -l tf_files/rounded_graph.pb.gz
  compressed uncompressed  ratio uncompressed_name
     1629189      5460676  70.1% tf_files/rounded_graph.pb
檢查壓縮前後的辨識度要差不多。
將模型放到範例app
先編譯app, Android Studio project 路徑:
tensorflow-for-poets-2/android/tfmobile
把前面訓練好的模型放到app的專案。
cp tf_files/rounded_graph.pb android/tfmobile/assets/graph.pb
cp tf_files/retrained_labels.txt android/tfmobile/assets/labels.txt
修改一下程式碼裡面的檔案名稱。
- ClassifierActivity.java
private static final String OUTPUT_NAME = "final_result";
跑起來,去Google 隨便用一張花的圖片來試試。

這個app 沒有用到ML Kit,而是直接用TensorFlow 的AAR。而且只有on device模型。